前言

上一篇讲解了发布一个cocoapods三方框架的主要流程步骤。本篇文章结合上面文章的步骤,将会以实际演练为主,一步一步发布一个三方框架到cocoapods。

实战

本篇文章将以一个名为Lego的三方库为例,讲解如何创建并发布到cocoapods官方。

1.创建pod模板仓库

1
pod lib create Lego

笔者操作如下:
pod lib create Lego
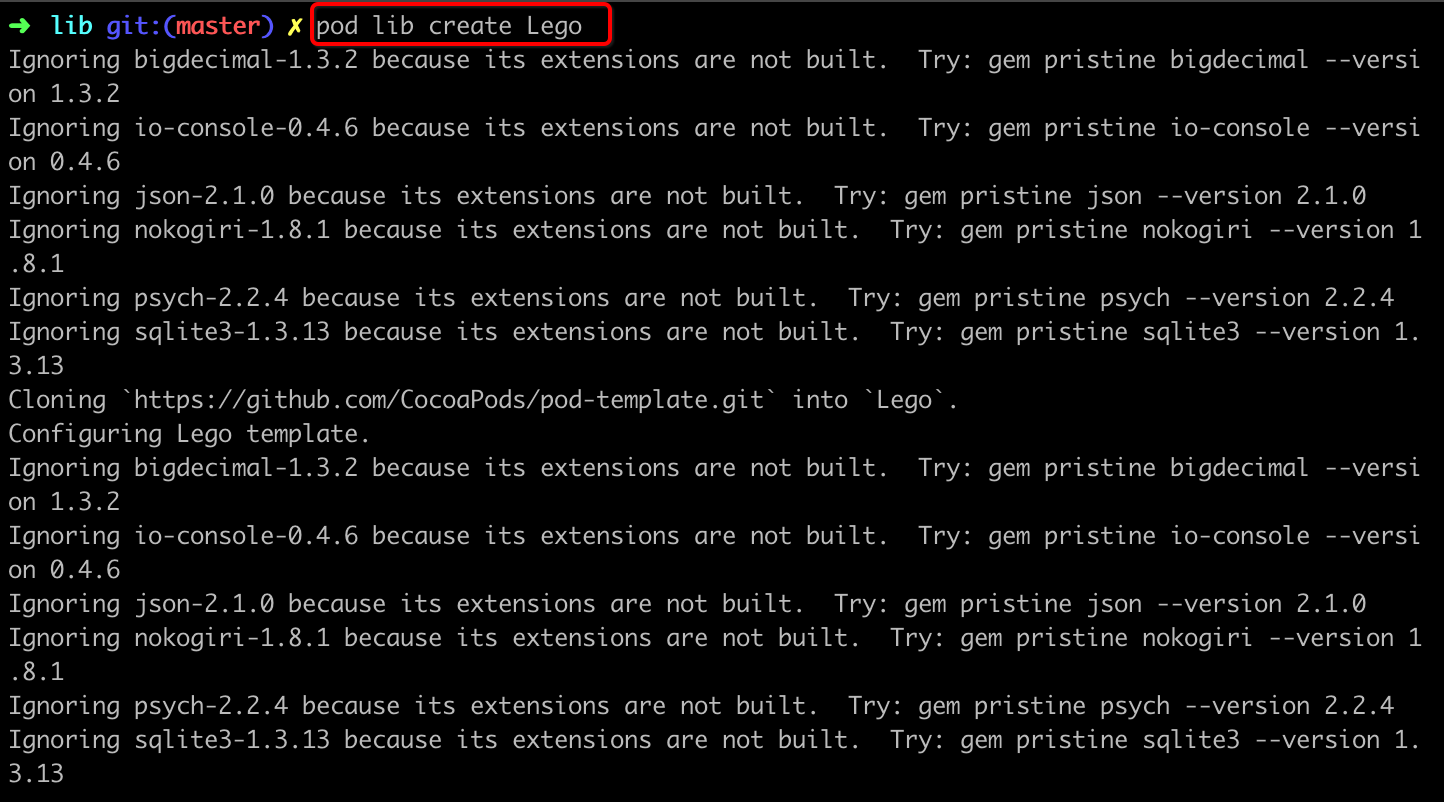
执行以上命令后,pod会在当前文件夹(笔者当前的文件夹是lib)下创建一个名为Lego的文件夹作为模板工程,并且会从https://github.com/CocoaPods/pod-template.git 这个地址clone一份pod模板放入Lego中。
然后这个命令并没有结束,因为pod lib create是一个交互式命令, 需要我们根据提示来进行输入,以初始化这个pod模板仓库。如下:
初始化模板仓库
配置好后,Xcode会自定打开我们的模板工程,如下图:
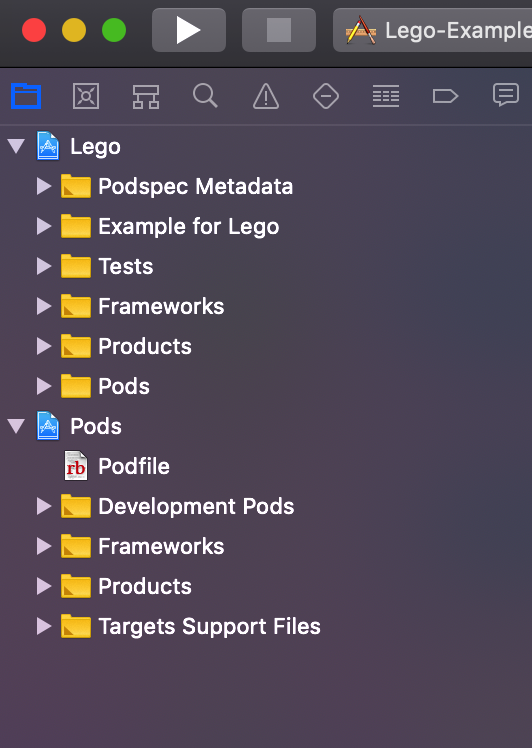
模板工程目录

2. 添加源文件

在模板工程的Lego/Classes目录下添加我们的源文件(记得删除那个无用的replaceMe.m文件)。如下图,笔者在Classes文件夹下添加了一个Math.h和Math.m文件:
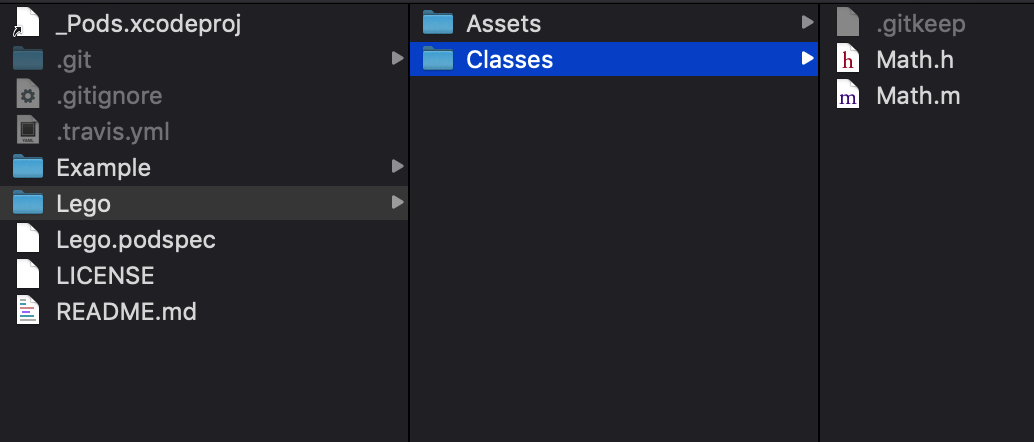
添加源文件

3. install源文件

然后cd到Lego/Example文件夹下执行pod install。如下图:
pod install
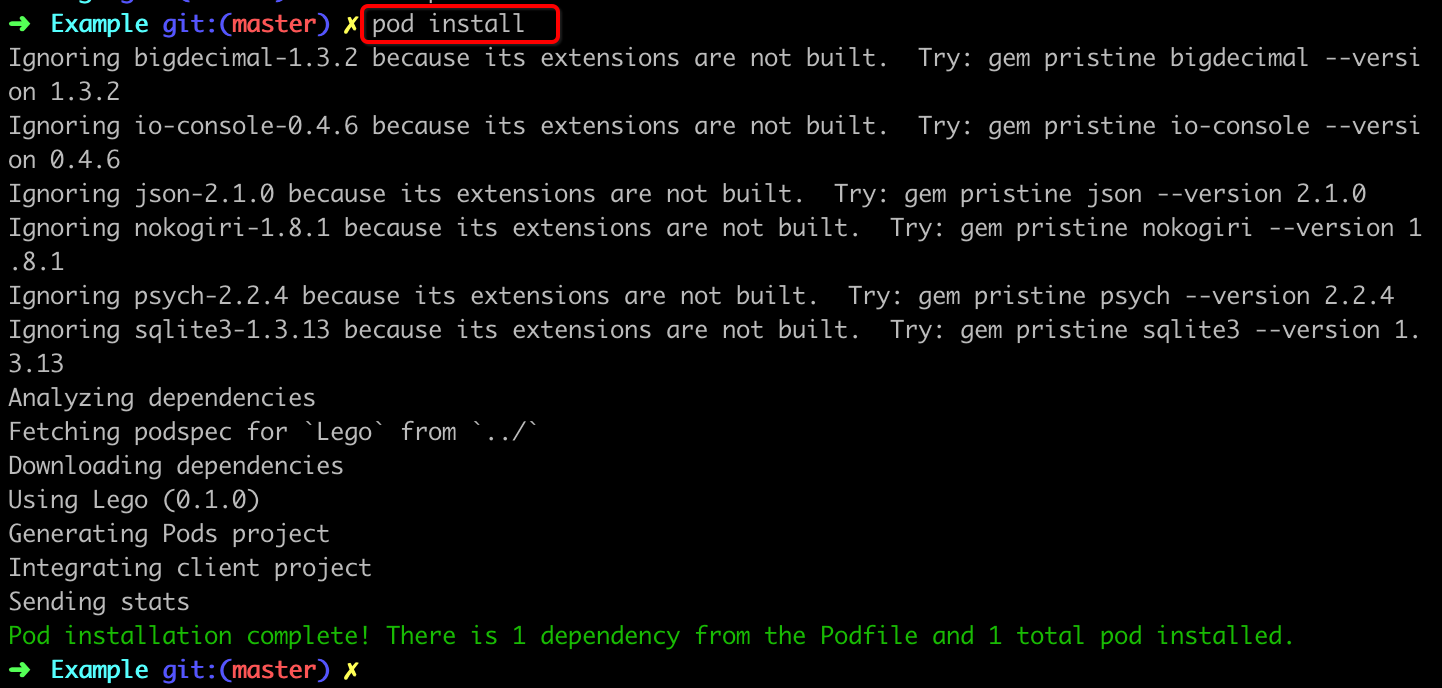
执行完pod install后,工程目录的Pods/Development Pods/Lego下就可以看到我们的源文件了,如下图:
pod install

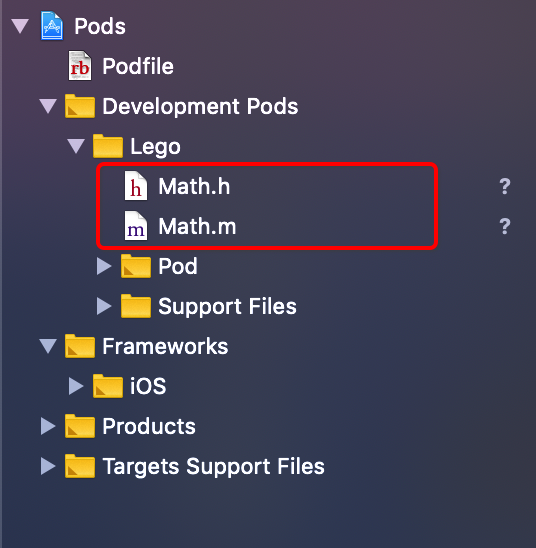
注意:每次增加或者删除文件都需要pod install。

给Math类增加一个方法,用于计算两个整数的和,如下:

1
2
3
4
5
6
7
8
9
10
11
12
13
14
#import <Foundation/Foundation.h>

@interface Math : NSObject
// 计算两个数的和
+ (NSInteger)sum:(NSInteger)num1 num2:(NSInteger)num2;
@end

#import "Math.h"

@implementation Math
+ (NSInteger)sum:(NSInteger)num1 num2:(NSInteger)num2 {
return num1 + num2;
}
@end

然后我们可以在测试工程中对这个函数进行测试,如下:
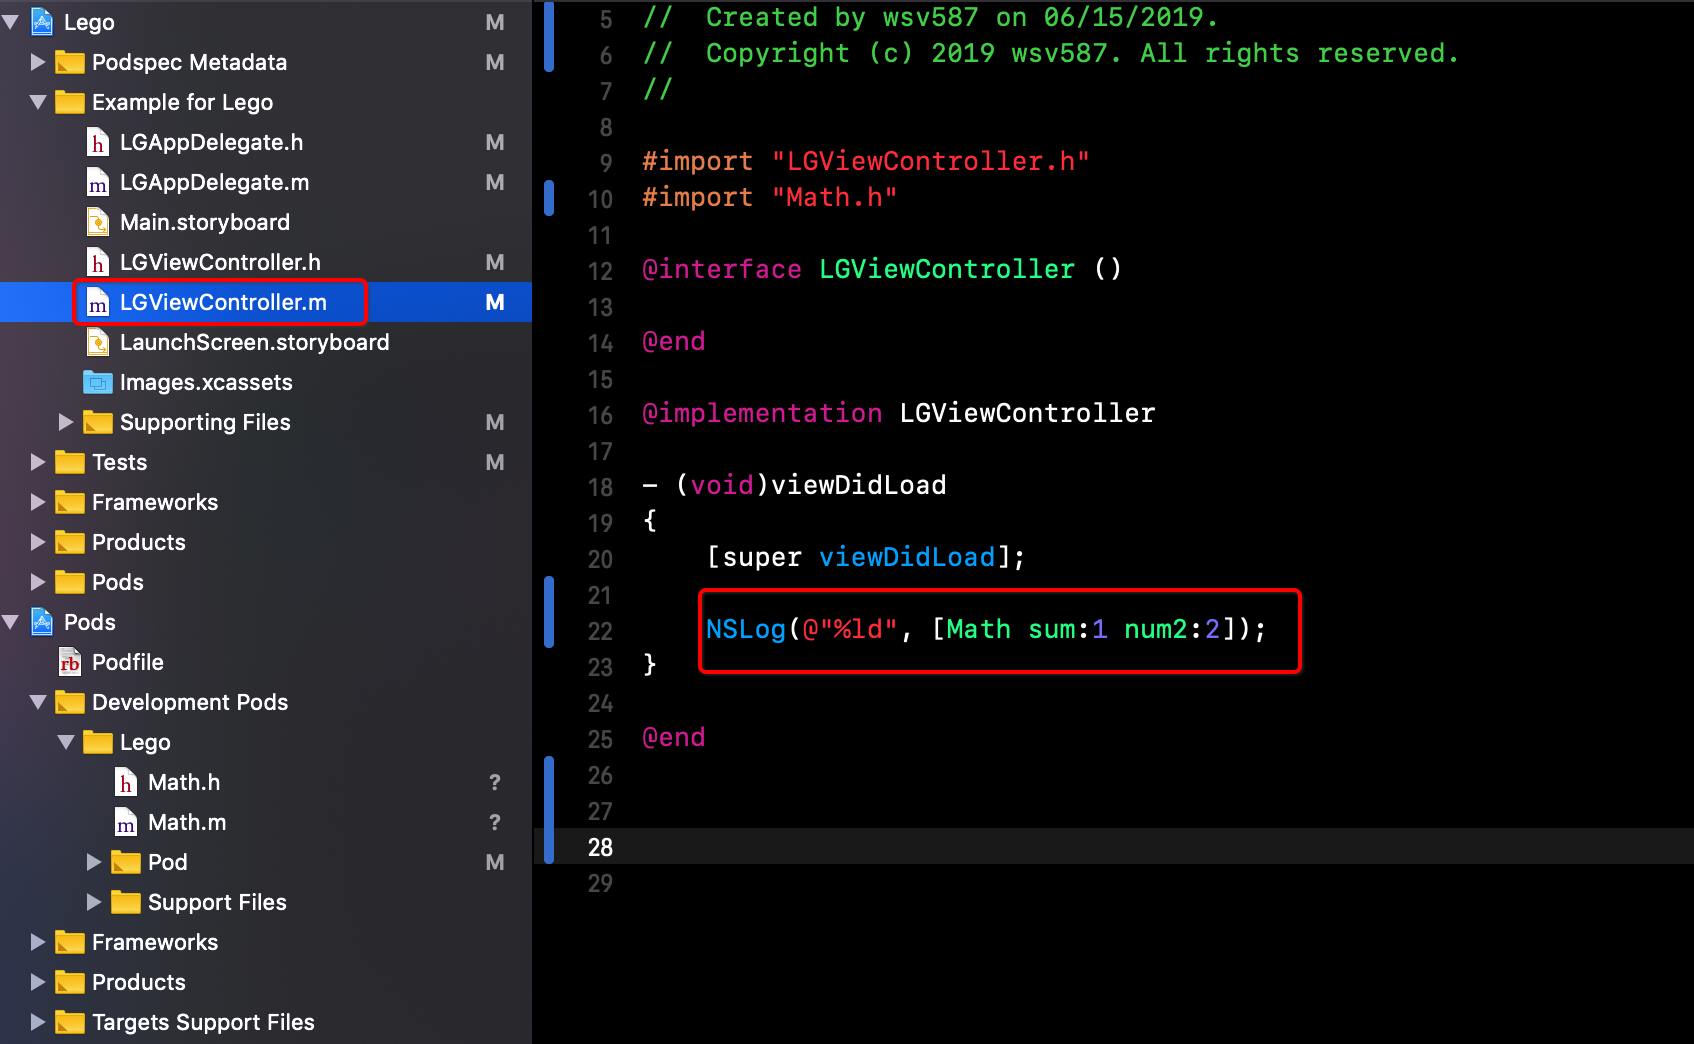
测试

4.托管仓库

测试无误后,把代码推送到远程仓库,然后打上tag 0.1.0。本例中以github作为代码托管平台,如下:

1
2
3
4
5
6
7
8
# 关联远程仓库
git remote add origin https://github.com/wsv587/Lego.git
# 提交
git add . #添加变更
git commit -m"init lib" # 提交变更
git push --set-upstream origin master -f # 推送代码到远程仓库
git tag 0.1.0 # 打标签
git push --tags # 推送标签到远程仓库

5.配置podspec文件

Xcode打开模板工程中的Lego/Podspec Metadata/Lego.podspec文件,作如下配置:

  • 修改 s.version为我们刚才提交的tag ‘0.1.0’
  • 修改 s.summary为我们这个仓库的简要介绍
  • 修改 s.description 为我们这个仓库的描述信息。这个描述信息要比s.summary长,否则后续执行lint检查时会警告⚠️
  • s.homepage 为仓库的主页,一般是这个仓库所在托管平台的链接地址
  • s.license 为开源协议信息,和我们github远程仓库的协议保持一致即可
  • s.author 作者以及作者邮箱
  • s.ios.deployment_target 该仓库支持的平台最低版本,因为我们在pod lib create Lego时选择的是iOS,所以这里的版本是指支持的最低的iOS的系统版本号。
  • s.source_files 为我们源文件的所在目录,这个非常重要,执行pod install时,系统就是根据这个路径下载源文件。此路径是相对路径,相对于当前的podspec文件。

笔者的podspec配置如下所示:

1
2
3
4
5
6
7
8
9
10
11
12
13
14
15
16
17
18
19
20
21
22
23
24
25
26
27
28
29
30
31
32
33
34
35

Pod::Spec.new do |s|
s.name = 'Lego'
s.version = '0.1.0'
s.summary = 'A short description of Lego.'

# This description is used to generate tags and improve search results.
# * Think: What does it do? Why did you write it? What is the focus?
# * Try to keep it short, snappy and to the point.
# * Write the description between the DESC delimiters below.
# * Finally, don't worry about the indent, CocoaPods strips it!

s.description = <<-DESC
TODO: Add long description of the pod here.
DESC

s.homepage = 'https://github.com/wsv587/Lego'
# s.screenshots = 'www.example.com/screenshots_1', 'www.example.com/screenshots_2'
s.license = { :type => 'MIT', :file => 'LICENSE' }
s.author = { 'wsv587' => 'wanggyanmo@163.com' }
s.source = { :git => 'https://github.com/wsv587/Lego.git', :tag => s.version.to_s }
# s.social_media_url = 'https://twitter.com/<TWITTER_USERNAME>'

s.ios.deployment_target = '8.0'

s.source_files = 'Lego/Classes/**/*'

# s.resource_bundles = {
# 'Lego' => ['Lego/Assets/*.png']
# }

# s.public_header_files = 'Pod/Classes/**/*.h'
# s.frameworks = 'UIKit', 'MapKit'
# s.dependency 'AFNetworking', '~> 2.3'
end
  1. 执行本地检查(可选)
    在Lego根目录下执行pod lib lint命令,检查podspec的语法错误。如果不是在Lego根目录下执行,则该命令后面需要指明spodspec的路径,如下:

    1
    pod lib lint ./Lego/Lego.podspec
  2. 执行远程检查(必选)
    接下来执行pod spec lint 命令。如果不是在Lego根目录下执行,则该命令后面需要指明spodspec的路径,如下:

    1
    pod spec lint ./Lego/Lego.podspec

遇到的一些坑

1. 执行pod trunk push报错

报错如下:
[!] The spec did not pass validation, due to 5 warnings (but you can use --allow-warnings to ignore them).

解决办法:

1
pod trunk push --allow-warnings

敬请期待~